The data warehouse can link to data in Cloudflare R2. To start, you'll need to:
- Create a bucket in R2
- Set up an access key and secret
- Add data to the bucket
- Create the table in PostHog
Step 1: Creating a bucket in R2
- Log in to the Cloudflare dashboard.
- Go to the R2 overview and create a new bucket. We suggest using Eastern North America as a location hint if you're using PostHog Cloud US or European Union as a specific jurisdiction if you're using PostHog Cloud EU.
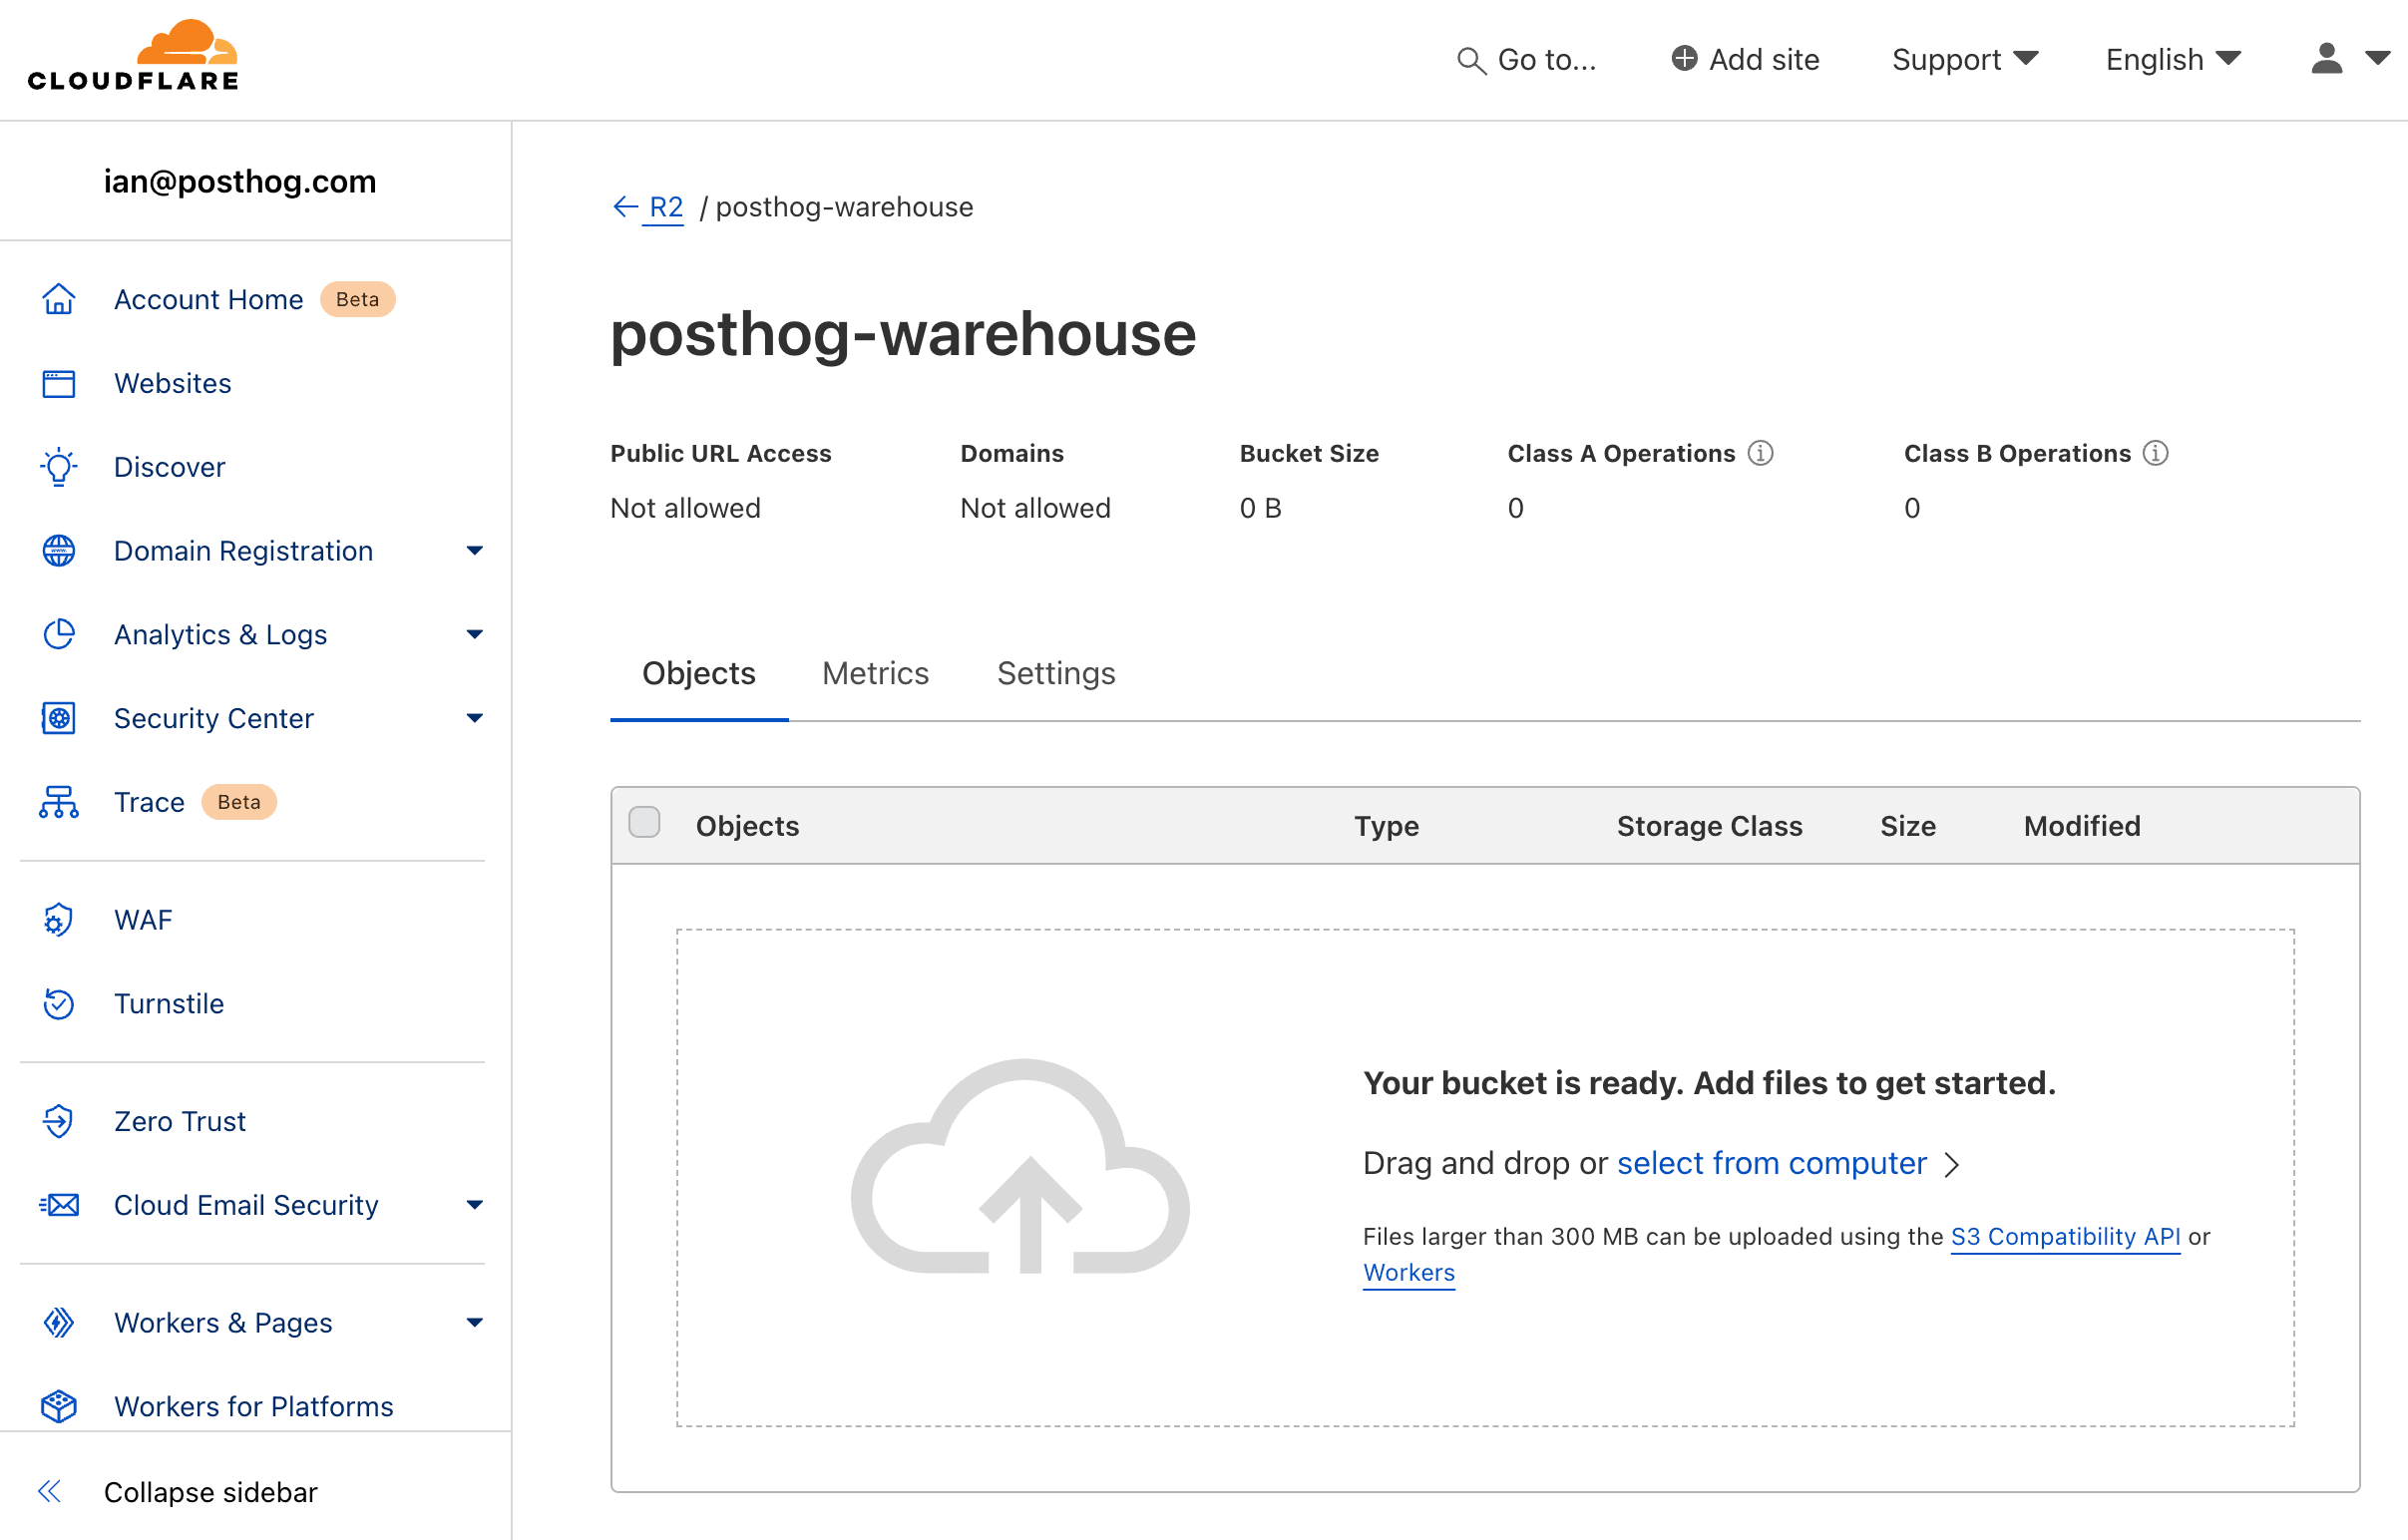
- In your bucket, upload the data you want to query such as CSV or Parquet data. It can be as simple as a
.csvfile like this:
csv
Adding data to R2 automatically: See our S3 docs for how to set up Airbyte to automatically add data to the bucket. You can also use other ETL tools like Fivetran or Stitch.
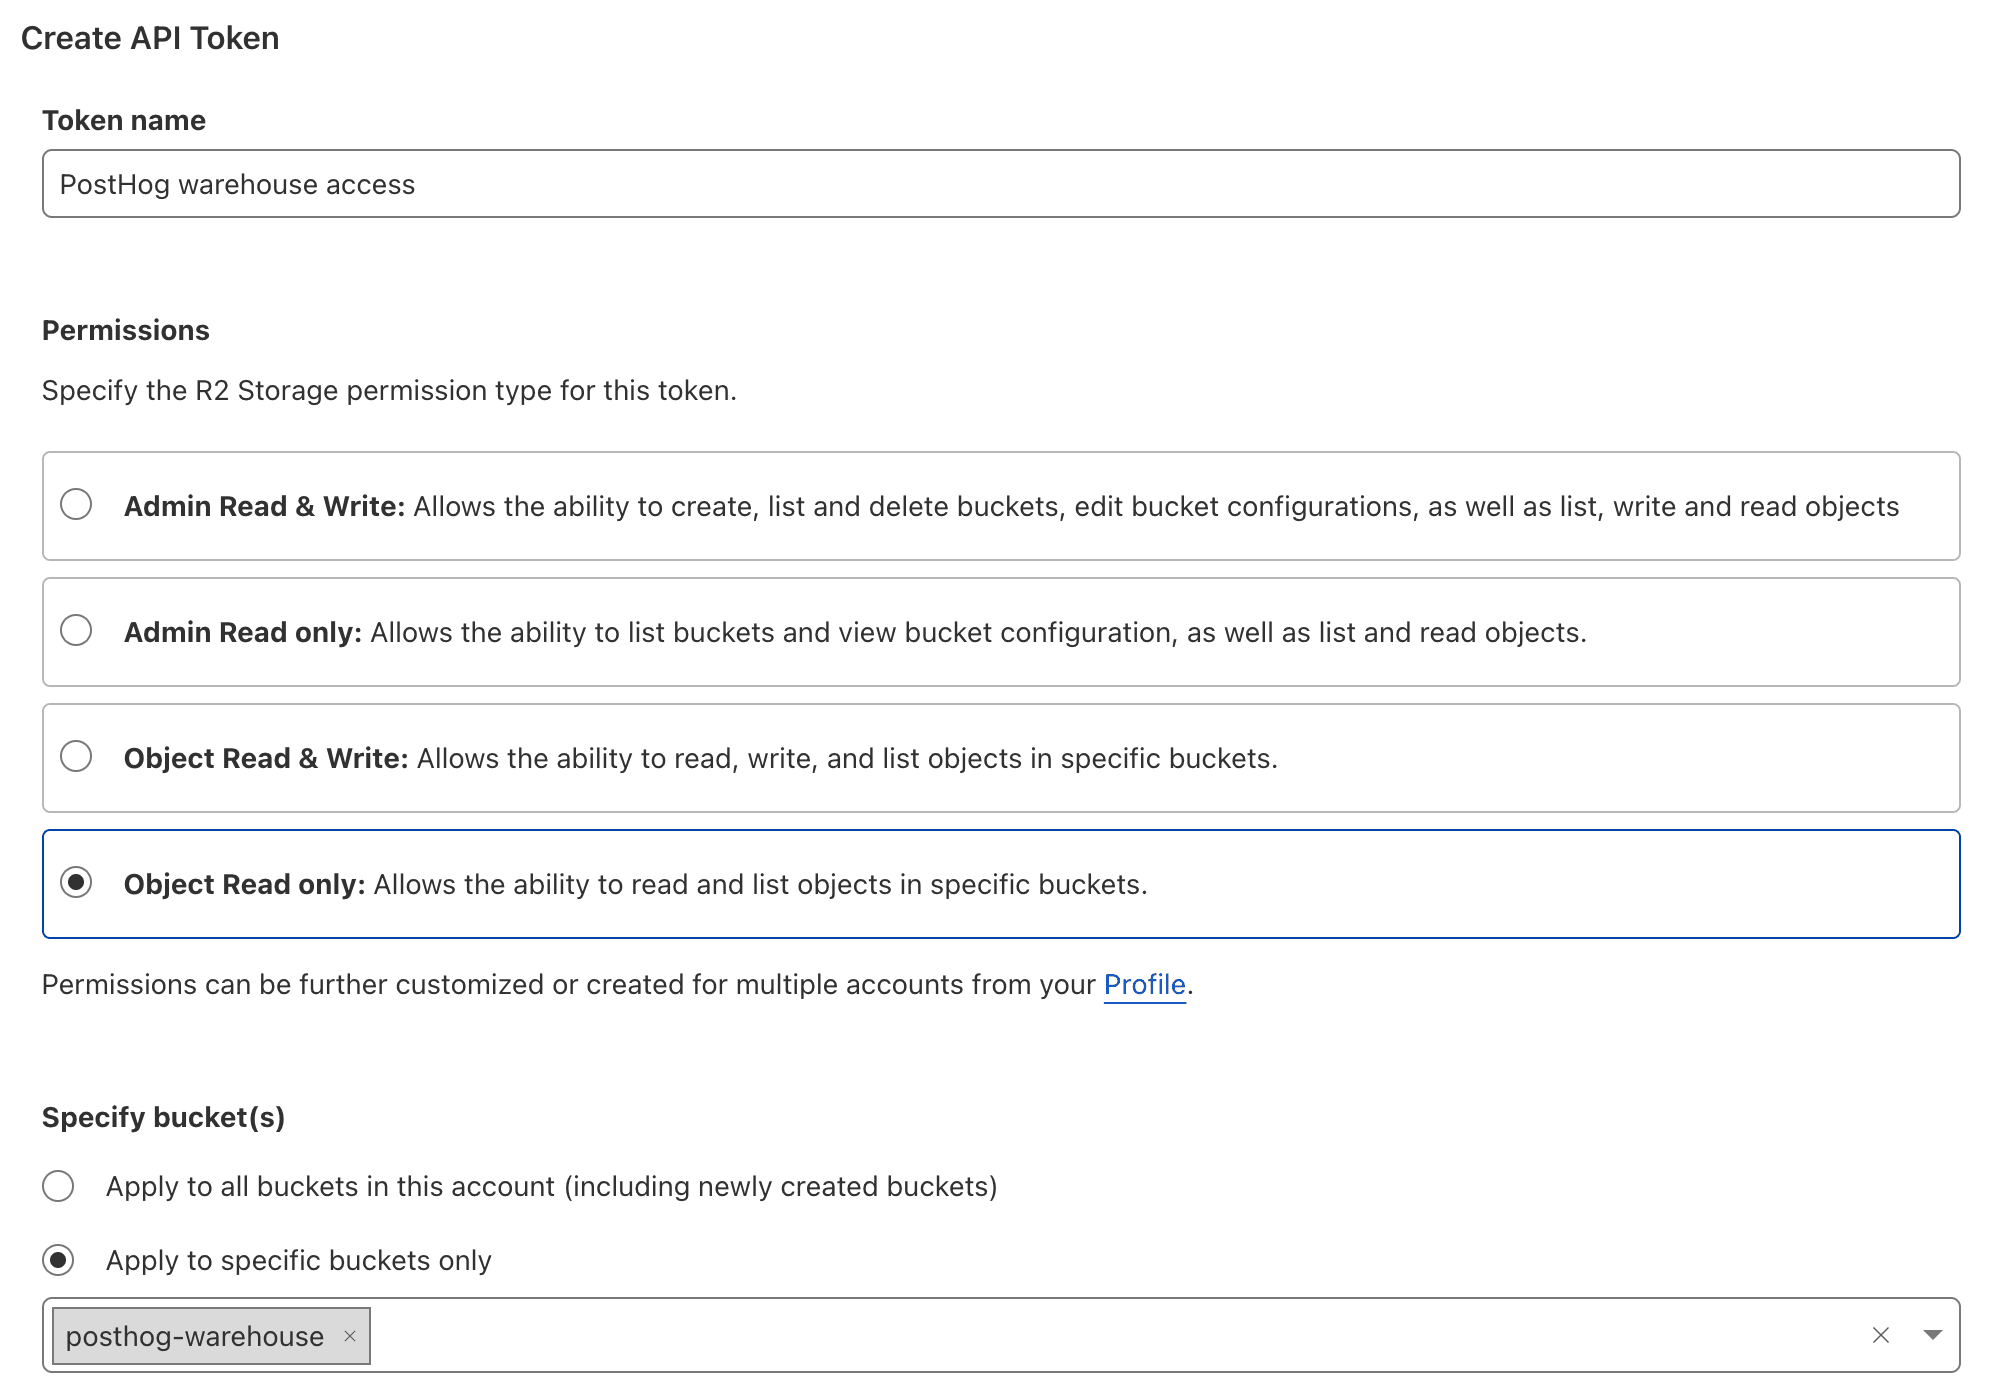
Step 2: Create API tokens
- Head back to the R2 overview and under account details, click Manage R2 API Tokens
- Click Create API token, give your token a name, choose Object Read only as the permission type, apply it to your bucket, and click Create API Token
- Copy the credentials for S3 clients, including the Access Key ID, Secret Access Key, and jurisdiction-specific endpoint URL. These will not be shown again, so make sure to copy them to a safe place.
Step 3: Create the table in PostHog
- Go to the Data pipeline page and the sources tab in PostHog
- Click New source and under self managed, look for Cloudflare R2 and click Link
- Fill the table name, then use the data from Cloudflare:
- For files URL pattern, use the jurisdiction-specific endpoint URL with your bucket name and file name like
https://b27247d543c.r2.cloudflarestorage.com/posthog-warehouse/cool_data.csv. You can also use*to query multiple files. - Chose the correct file format
- For access key, use your Access Key ID
- For secret key, use your Secret Access Key
- For files URL pattern, use the jurisdiction-specific endpoint URL with your bucket name and file name like
- Click Next

Step 4: Query the table
Once it is done syncing, you can now query your new table using the table name.