How to set up iOS session replay

Sep 11, 2024

Session replay is a useful support tool for understanding how users are interacting with your iOS app. It also helps you debug and recreate issues.

To show how you to set it up with PostHog, in this tutorial we create a basic UIKit app, add PostHog, and enable session recordings.

Note: While this tutorial uses UIKit, similar concepts apply to SwiftUI. See our docs for more details.

1. Create a basic iOS app

Our sample app will have two screens:

  • The first screen is a login screen with name, email, and password text fields.
  • The second screen is a simple screen with welcome text and logout button.

The first step is to create a new app. Open Xcode and click Create new project. Select iOS as your platform, then App and press Next. Give your app a name, select Storyboard as the interface, and the defaults for everything else. Click next and then Create.

Then, replace your code in ViewController with the following:

ViewController.swift
import UIKit
class ViewController: UIViewController {
private let nameTextField = UITextField()
private let emailTextField = UITextField()
private let passwordTextField = UITextField()
private let loginButton = UIButton(type: .system)
override func viewDidLoad() {
super.viewDidLoad()
setupUI()
}
private func setupUI() {
view.backgroundColor = .white
title = "Login"
// Name TextField
nameTextField.placeholder = "Name"
view.addSubview(nameTextField)
// Email TextField
emailTextField.placeholder = "Email"
emailTextField.keyboardType = .emailAddress
view.addSubview(emailTextField)
// Password TextField
passwordTextField.placeholder = "Password"
passwordTextField.isSecureTextEntry = true
view.addSubview(passwordTextField)
// Login Button
loginButton.setTitle("Login", for: .normal)
loginButton.backgroundColor = .systemBlue
loginButton.setTitleColor(.white, for: .normal)
loginButton.layer.cornerRadius = 10
loginButton.addTarget(self, action: #selector(loginButtonTapped), for: .touchUpInside)
view.addSubview(loginButton)
setupConstraints()
}
private func setupConstraints() {
nameTextField.translatesAutoresizingMaskIntoConstraints = false
emailTextField.translatesAutoresizingMaskIntoConstraints = false
passwordTextField.translatesAutoresizingMaskIntoConstraints = false
loginButton.translatesAutoresizingMaskIntoConstraints = false
NSLayoutConstraint.activate([
nameTextField.topAnchor.constraint(equalTo: view.safeAreaLayoutGuide.topAnchor, constant: 20),
nameTextField.leadingAnchor.constraint(equalTo: view.leadingAnchor, constant: 20),
nameTextField.trailingAnchor.constraint(equalTo: view.trailingAnchor, constant: -20),
nameTextField.heightAnchor.constraint(equalToConstant: 44),
emailTextField.topAnchor.constraint(equalTo: nameTextField.bottomAnchor, constant: 20),
emailTextField.leadingAnchor.constraint(equalTo: view.leadingAnchor, constant: 20),
emailTextField.trailingAnchor.constraint(equalTo: view.trailingAnchor, constant: -20),
emailTextField.heightAnchor.constraint(equalToConstant: 44),
passwordTextField.topAnchor.constraint(equalTo: emailTextField.bottomAnchor, constant: 20),
passwordTextField.leadingAnchor.constraint(equalTo: view.leadingAnchor, constant: 20),
passwordTextField.trailingAnchor.constraint(equalTo: view.trailingAnchor, constant: -20),
passwordTextField.heightAnchor.constraint(equalToConstant: 44),
loginButton.topAnchor.constraint(equalTo: passwordTextField.bottomAnchor, constant: 40),
loginButton.leadingAnchor.constraint(equalTo: view.leadingAnchor, constant: 20),
loginButton.trailingAnchor.constraint(equalTo: view.trailingAnchor, constant: -20),
loginButton.heightAnchor.constraint(equalToConstant: 44)
])
}
@objc private func loginButtonTapped() {
if !emailTextField.text!.isEmpty && !passwordTextField.text!.isEmpty {
let welcomeVC = WelcomeViewController()
welcomeVC.modalPresentationStyle = .fullScreen
present(welcomeVC, animated: true, completion: nil)
}
}
}

Next, create a new file WelcomeViewController.swift with the following:

WelcomeViewController.swift
import UIKit
class WelcomeViewController: UIViewController {
private let welcomeLabel = UILabel()
private let logoutButton = UIButton(type: .system)
override func viewDidLoad() {
super.viewDidLoad()
setupUI()
}
private func setupUI() {
view.backgroundColor = .white
title = "Welcome"
// Welcome Label
welcomeLabel.text = "Welcome!"
welcomeLabel.font = UIFont.systemFont(ofSize: 24, weight: .bold)
welcomeLabel.textAlignment = .center
view.addSubview(welcomeLabel)
// Logout Button
logoutButton.setTitle("Logout", for: .normal)
logoutButton.backgroundColor = .systemRed
logoutButton.setTitleColor(.white, for: .normal)
logoutButton.layer.cornerRadius = 10
logoutButton.addTarget(self, action: #selector(logoutButtonTapped), for: .touchUpInside)
view.addSubview(logoutButton)
setupConstraints()
}
private func setupConstraints() {
welcomeLabel.translatesAutoresizingMaskIntoConstraints = false
logoutButton.translatesAutoresizingMaskIntoConstraints = false
NSLayoutConstraint.activate([
welcomeLabel.centerXAnchor.constraint(equalTo: view.centerXAnchor),
welcomeLabel.centerYAnchor.constraint(equalTo: view.centerYAnchor),
logoutButton.topAnchor.constraint(equalTo: welcomeLabel.bottomAnchor, constant: 40),
logoutButton.leadingAnchor.constraint(equalTo: view.leadingAnchor, constant: 20),
logoutButton.trailingAnchor.constraint(equalTo: view.trailingAnchor, constant: -20),
logoutButton.heightAnchor.constraint(equalToConstant: 44)
])
}
@objc private func logoutButtonTapped() {
presentingViewController?.dismiss(animated: true, completion: nil)
}
}

Our basic setup is now complete. Build and run your app to see it in action.

2. Add PostHog to your app

With our app set up, it’s time to install and set up PostHog. If you don't have a PostHog instance, you can sign up for free.

First, add posthog-ios as a dependency to your app using Swift Package Manager (or if you prefer, you can use CocoaPods).

To add the package dependency to your Xcode project, select File > Add Package Dependency and enter the URL https://github.com/PostHog/posthog-ios.git. Select posthog-ios and click Add Package.

Note: Session replay requires SDK version 3.8.3 or higher.

Add PostHog from Swift Package Manager

Next, configure your PostHog instance in didFinishLaunchingWithOptions inside AppDelegate. You can find your project API key and instance address in your PostHog project settings:

AppDelegate.swift
import UIKit
import PostHog
@main
class AppDelegate: UIResponder, UIApplicationDelegate {
func application(_ application: UIApplication, didFinishLaunchingWithOptions launchOptions: [UIApplication.LaunchOptionsKey: Any]?) -> Bool {
let POSTHOG_API_KEY = "<ph_project_api_key>"
let POSTHOG_HOST = "https://us.i.posthog.com" // usually 'https://us.i.posthog.com' or 'https://eu.i.posthog.com'
let configuration = PostHogConfig(apiKey: POSTHOG_API_KEY, host: POSTHOG_HOST)
configuration.sessionReplay = true
configuration.sessionReplayConfig.maskAllTextInputs = false
configuration.sessionReplayConfig.screenshotMode = true
PostHogSDK.shared.setup(configuration)
return true
}
// rest of your existing code

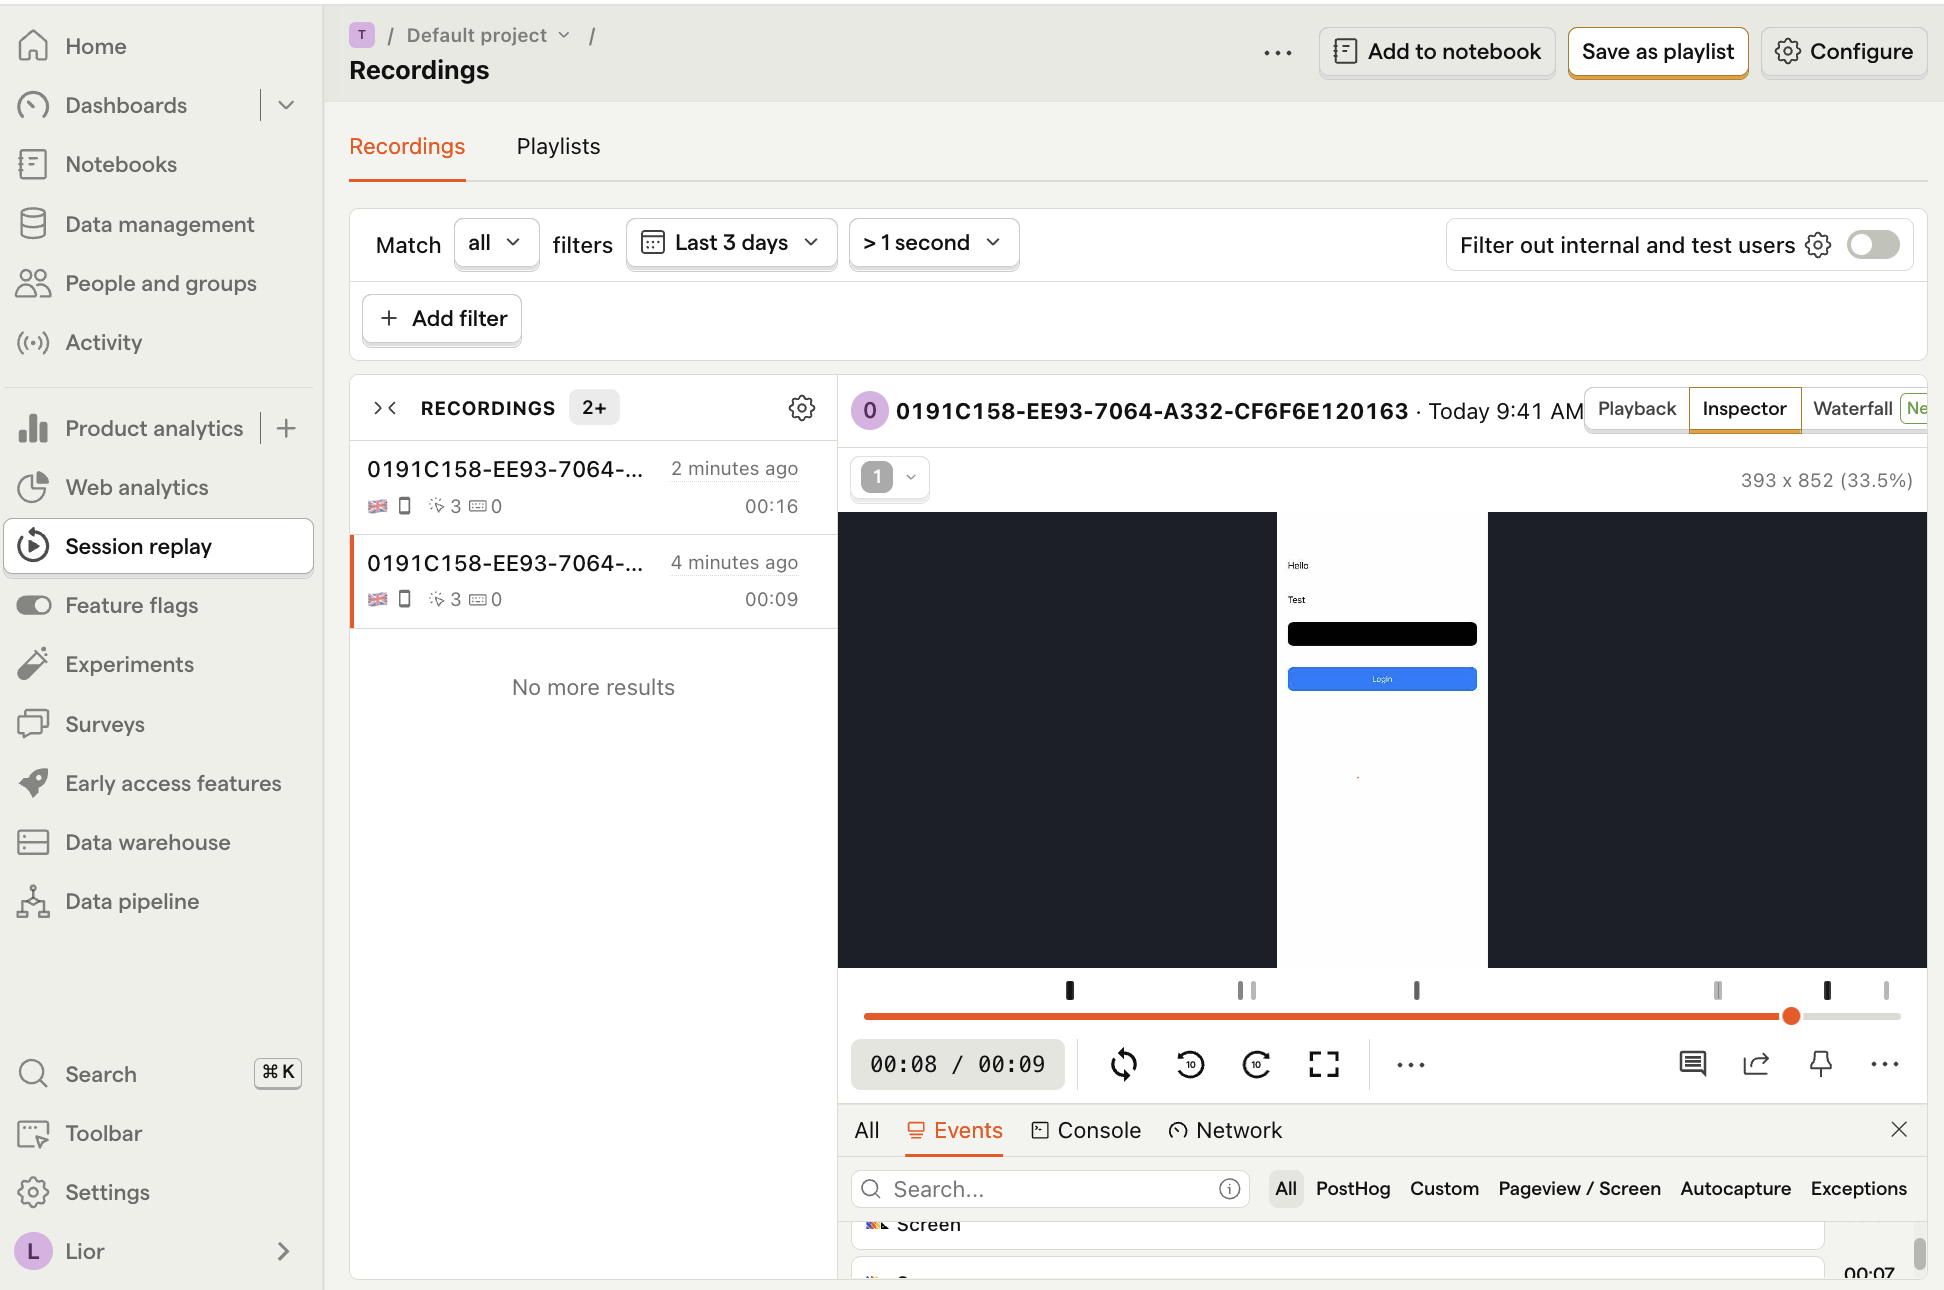
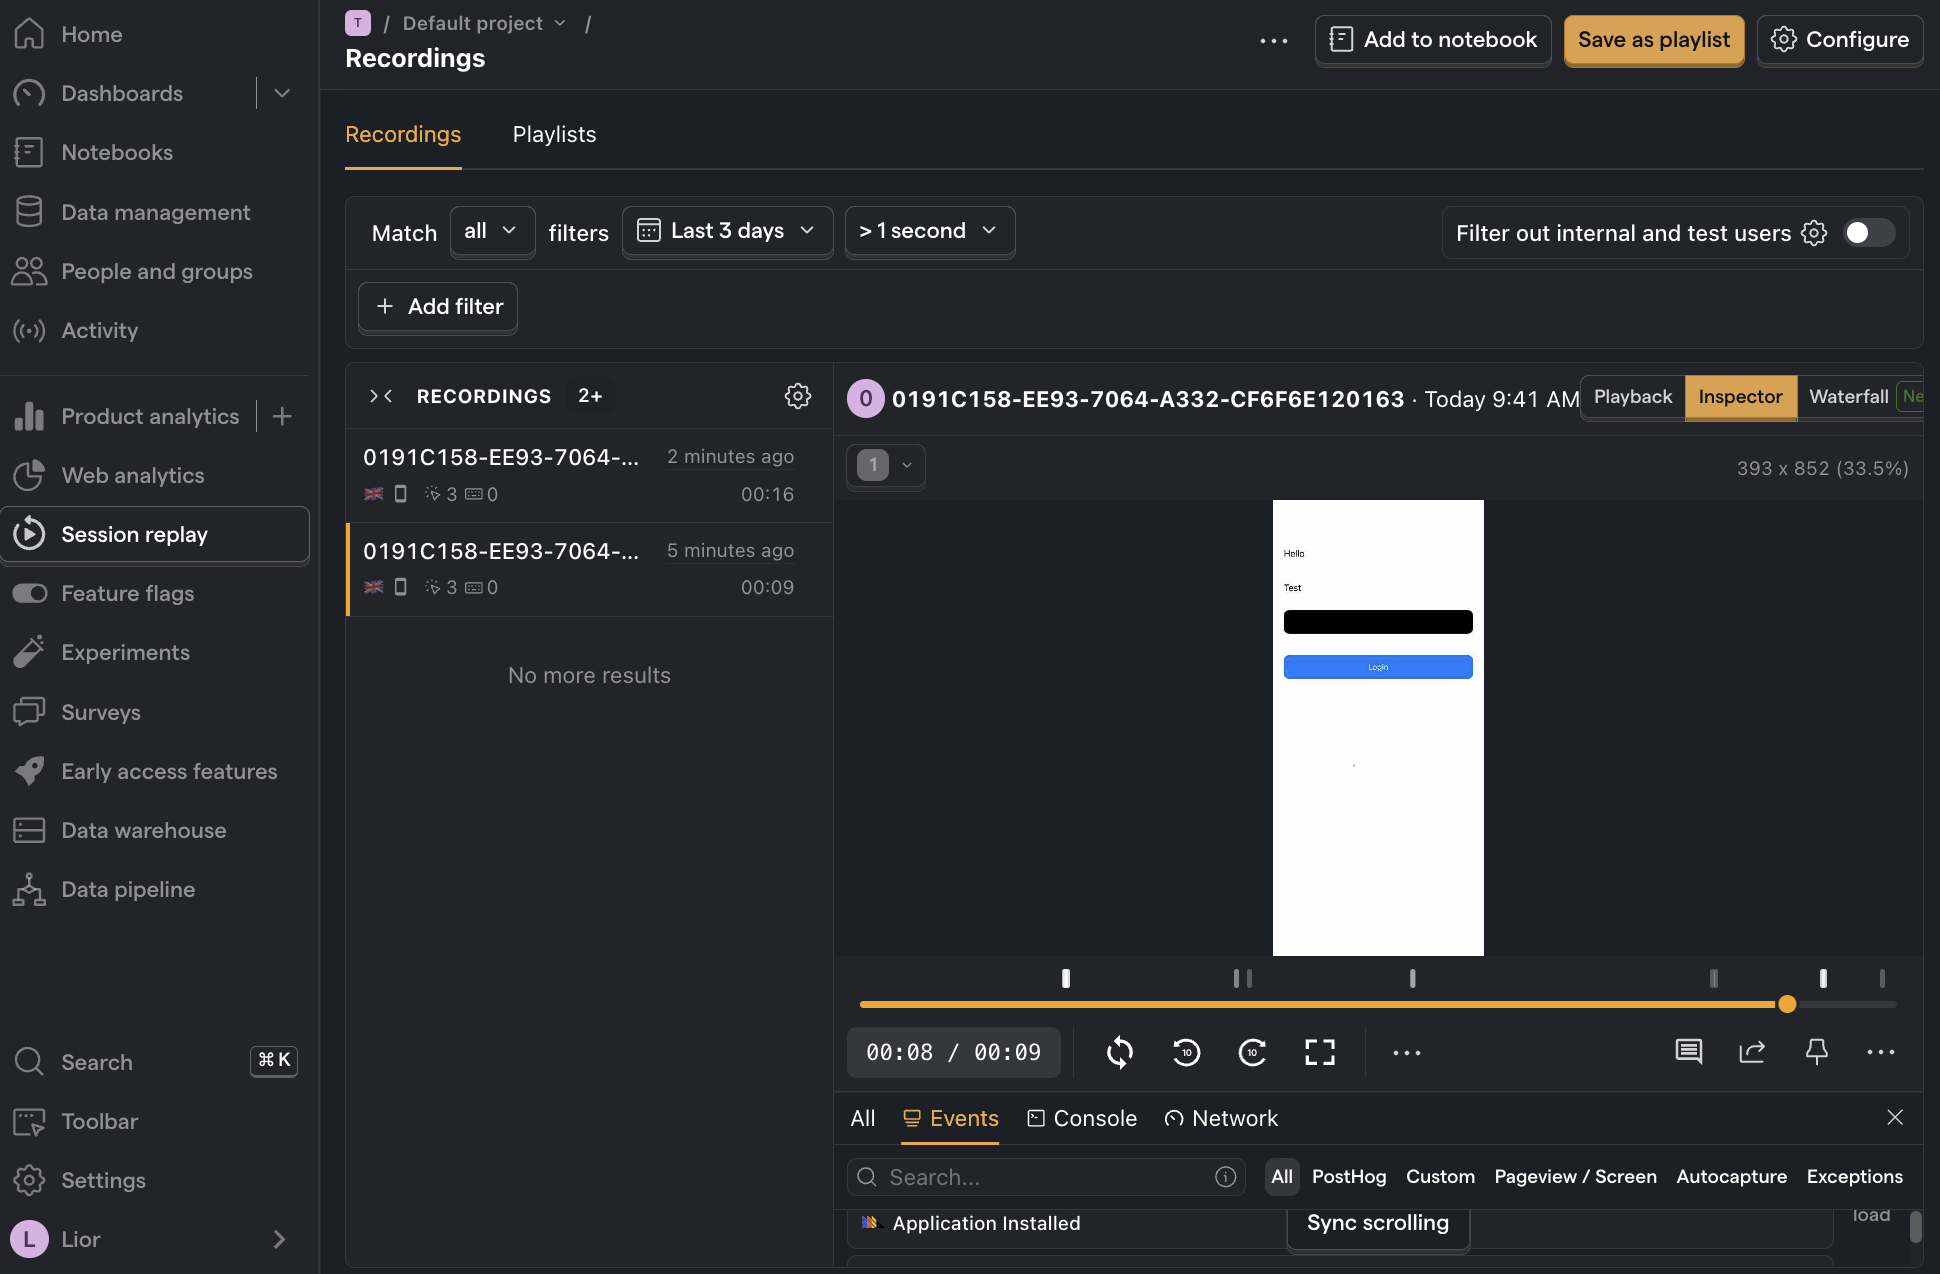
To check your setup, build and run your app a few times. Enter in any values in the text fields and click the Log in button. You should start see recordings in the session replay tab in PostHog 🎉.

iOS session replays in PostHog

3. (Optional) Mask sensitive data

Your replays may contain sensitive information. For example, if you're building a banking app you may not want to capture how much money a user has in their account. PostHog tries to automatically mask sensitive data (like the password text field), but sometimes you need to do it manually.

To replace any type of UIView with a redacted version in the replay, set the accessibilityIdentifier or accessibilityLabel to ph-no-capture.

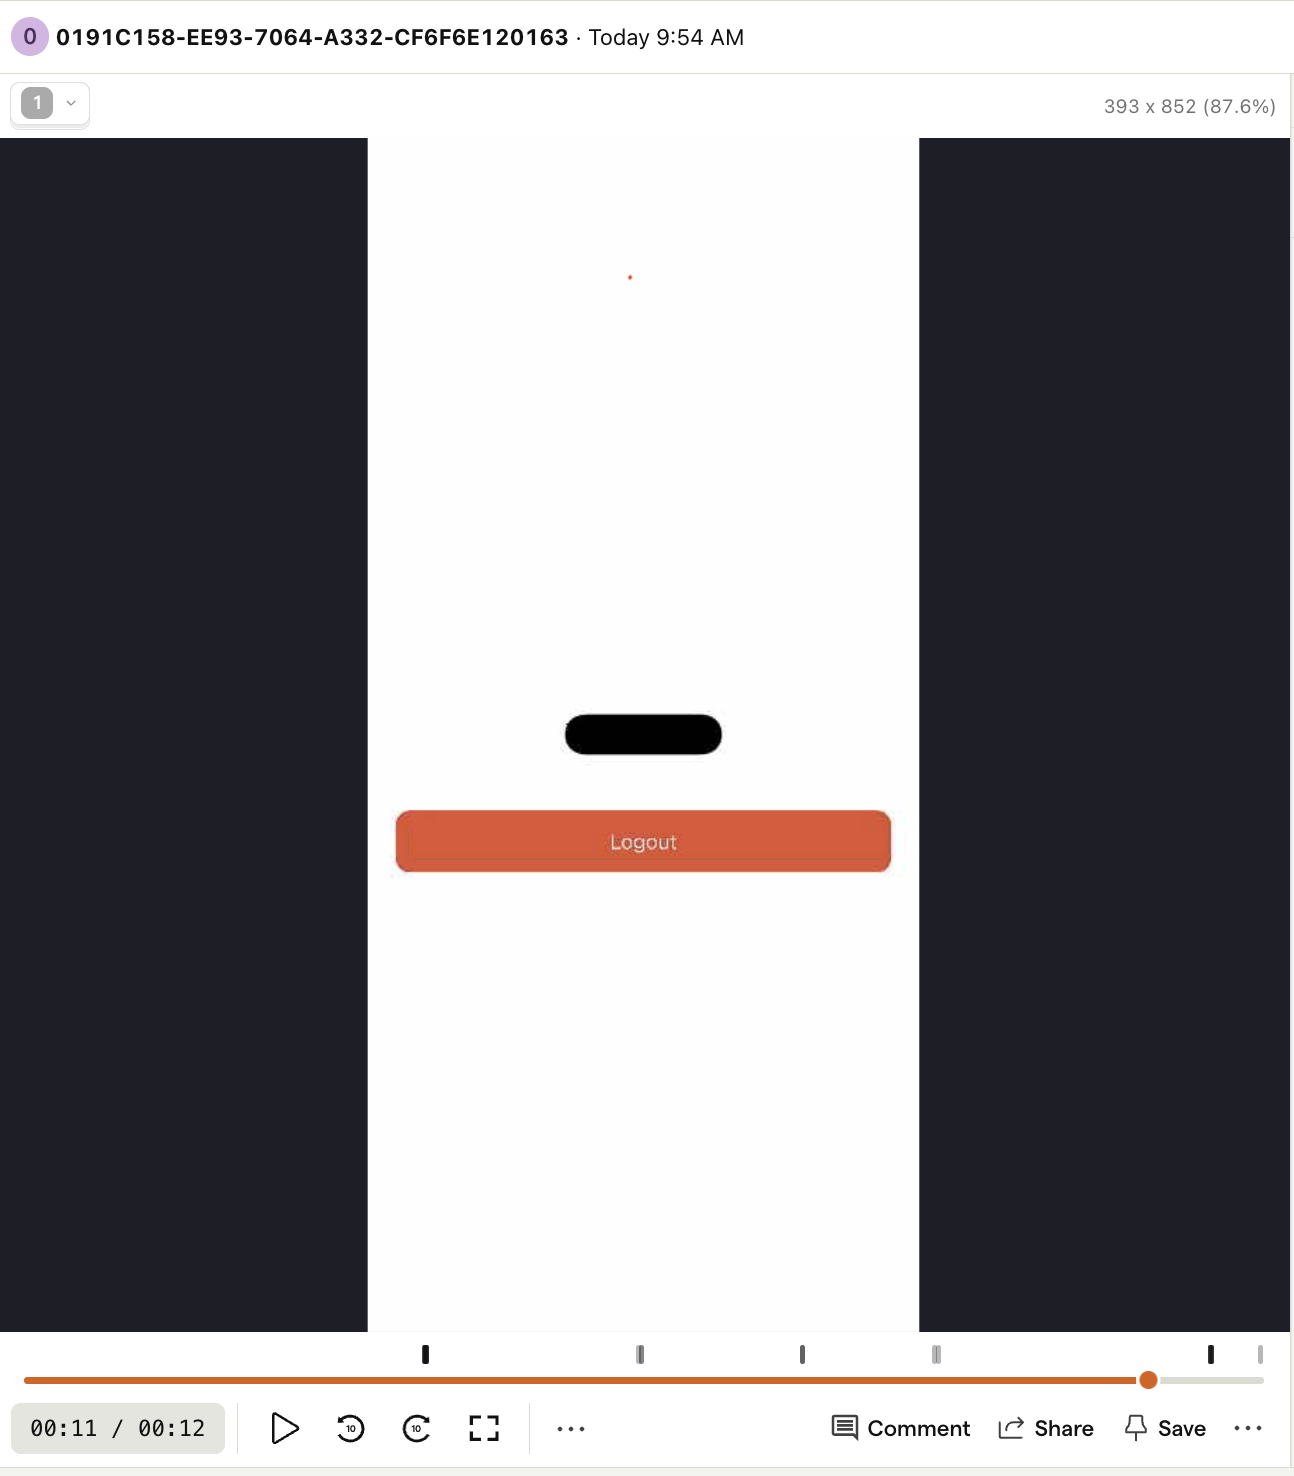
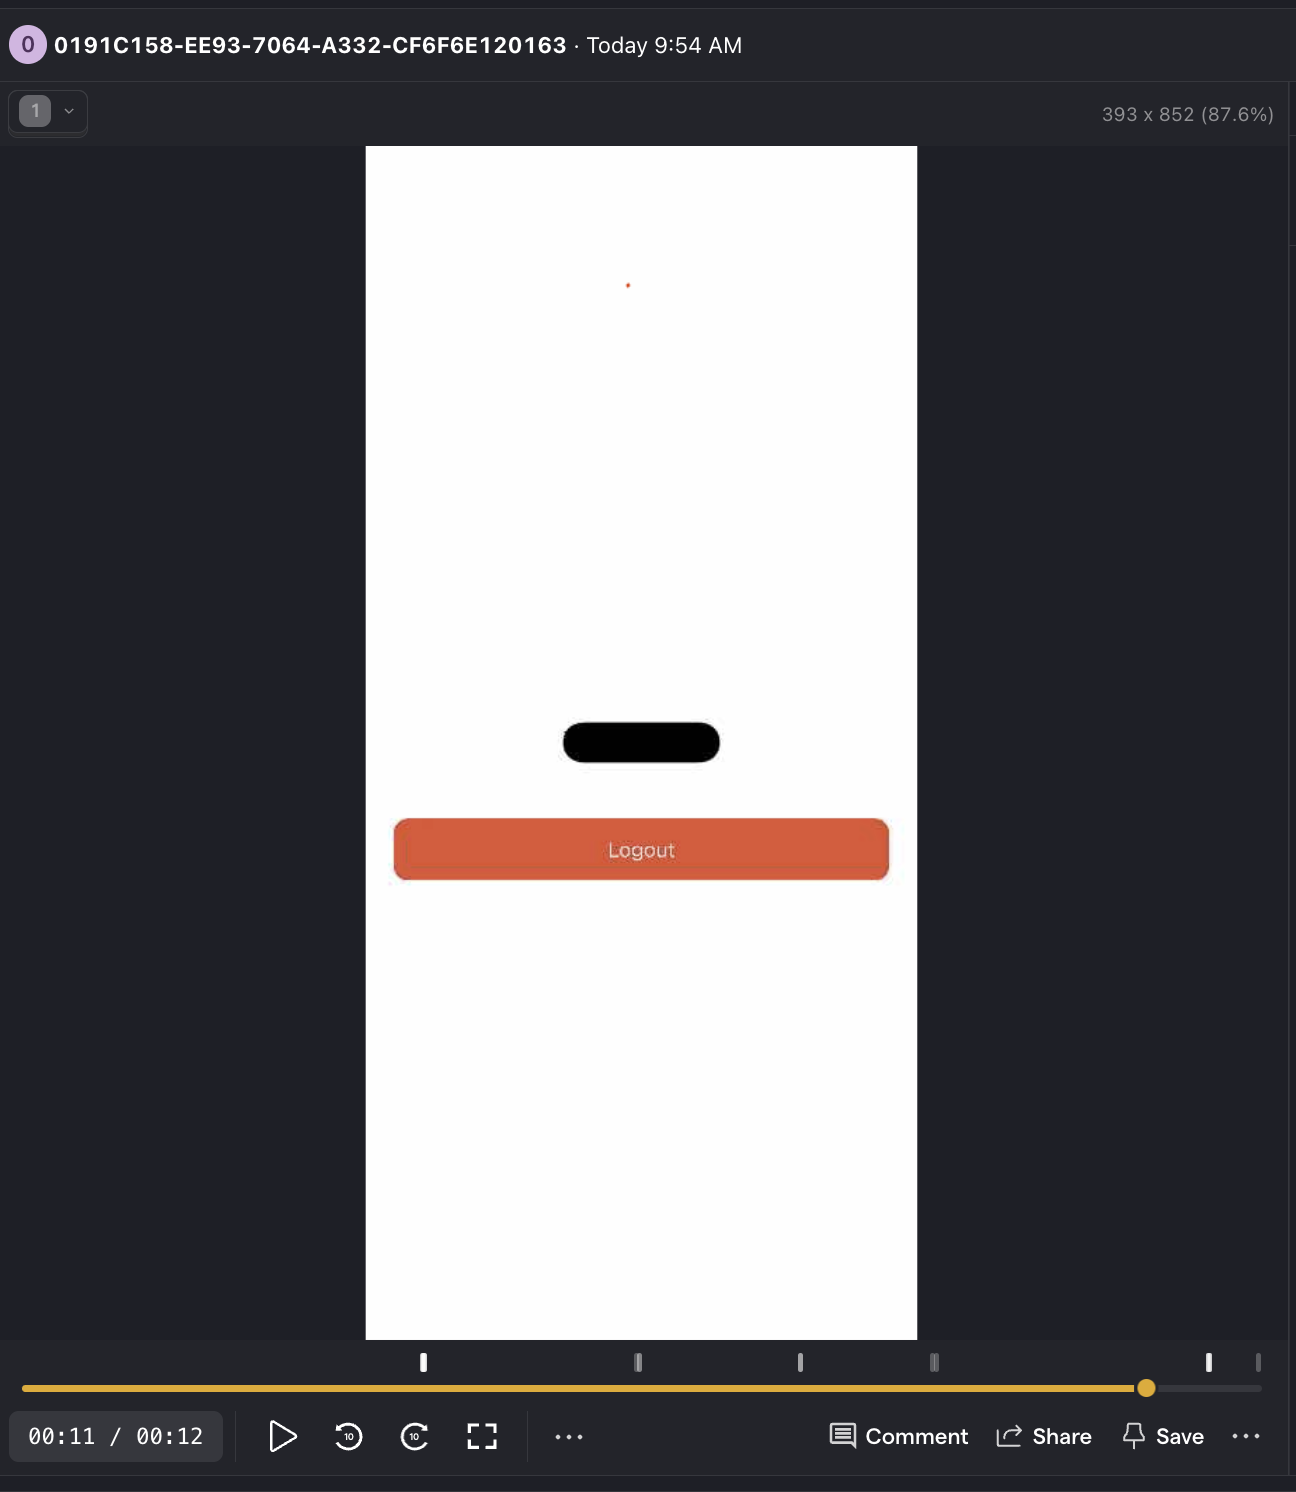
In the below code, we do this for the welcome text in WelcomeViewController:

WelcomeViewController.swift
// your existing code
// Welcome Label
welcomeLabel.text = "Welcome!"
welcomeLabel.font = UIFont.systemFont(ofSize: 24, weight: .bold)
welcomeLabel.textAlignment = .center
welcomeLabel.accessibilityIdentifier = "ph-no-capture"
view.addSubview(welcomeLabel)
// rest of your existing code

Now, the welcome messages shows up like this in replays:

Masking in iOS session replay

Note: Masking currently doesn't work with SwiftUI. There's an open issue to fix this.

Further reading

Comments